
Here's what you need to do if you want to make this project yourself:

1) Begin with a metal garbage can lid. These can be found at your local thrift store, but be sure to ask for pure vibranium, or you may get an unpleasant surprise the first time you try to stop a bullet with your shield. If bullets are not a concern for you, any kind of metal will do. You also need a roll of masking tape or painters' tape and red, white, and blue spray paint.
*note: if you have a little more time and want to make sure your colors don't overlap, hand-painting is preferable to spray paint and tape, because the paint will always leak through the tape at least a little bit.

2) Next, take a drill and drill out the rivet holding the handle on the lid. Whoever made that lid put the handle on the wrong side! It will be reattached on the other side later.
3) Once the handle has been removed, I recommend spray painting the whole thing white and then proceeding to follow the procedure below for the other two colors. Of course, that's not actually what I did. For some reason, I decided to paint the red parts first, which created a lot more work for me.


And painted it!

4) You can skip this step if, unlike me, you were smart enough to use the white paint first. After waiting the recommended amount of time for the red paint to dry, peel off all of the tape and newspaper and use the same method to tape over all of the red paint, then paint it white.

*note: this step describes what I did to save tape. However, I ended up with some nasty stickiness leftover from the tape where I left it on too long. For this reason, you may what to change out the tape after each step. You could use a combination of tape and newspaper to save tape.

6) Next, tape off the star in the center. I had enormous trouble making a regular star out of tape. It kept coming out all wonky, especially because the star has 5 points and the lid I used has 6 segments! I ended up measuring the diameter of the center circle, then finding an image of the shield online, scaling it so that the center circle was about as big as the center circle of the lid, printing it, cutting out the star, and taping it to the shield. Then I trimmed the corners of the tape to make the points of the star pointy again. The tape around the edges makes the star slightly larger, so it wouldn't hurt to print a star that is a bit smaller than you want the finished one to be.

7) Finally, paint the center of the shield blue and wait for it to dry.
 |
| This is what the star looks like |
 |
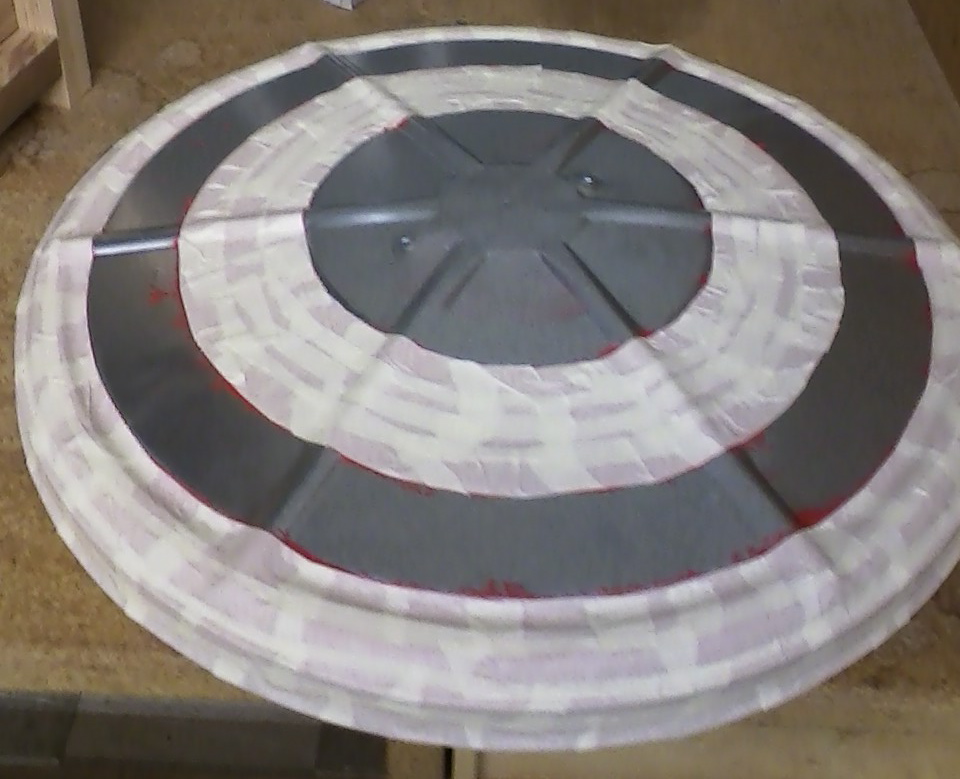
| And here is the whole thing before touch-ups |
 |
| The finished shield, after touch-ups! |
8) Remove all of the tape and voila! It should look somewhat like Captain America's shield! If you have white spots from the tape of places where paint is missing, like I did, you can touch it up by spraying some paint into a disposable cup so that it pools up, and applying it to any flaws with a paint brush. Use a brush that you don't really care about because spray paint is sticky and hard to wash out. I was able to pick up a brush for 15 cents at Hiron's and it worked just fine. Again, paint chipping or any problems caused by the tape can be avoided by painting the whole thing by hand, although this will definitely take longer overall.
9) The last step is to secure the handle on the inside of the shield so that you can hold onto it. You can do this with glue, a rivet, or whatever method you would like. You could also use fabric to make straps so you can strap the shield to your arm.
This whole project took me about three days to make, including drying time. I waited about 24 hours each time before applying the next coat, but this could be different for you depending on the recommended drying time for the kind of paint you buy. I used Rust-oleum in Apple Red and Brilliant Blue, and Dupli-color in Gloss White. Whatever kind you use, make sure it says on the can that it will work on metal. The actual painting took no time at all and the taping would have taken less time if I had painted the white coat first or thought of using a template for the star earlier.
I hope this helps someone with their costume!
-Baby Cat
thanks so much, really helped!! :)
ReplyDelete